
Reaching the Timeline Area
The “Timeline Area” is the default and main UI area within VidiControl. It encompasses a range of different areas fur fulfilling key steps a typical VidiControl user is expected to carry out.
Timeline Area Overview
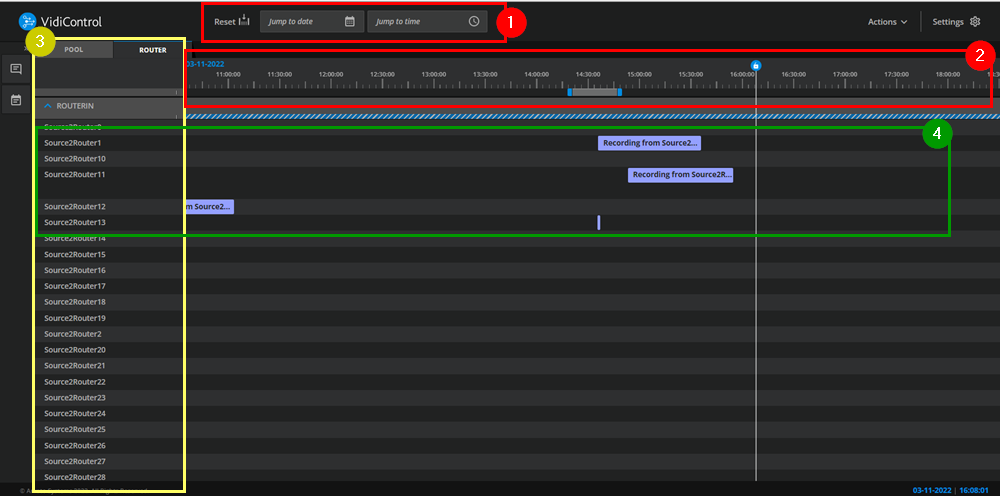
The timeline area can be broken down into a variety of sections. These are:
Date Selector (1): Users can specify the date they want to center the timeline to.
Timeline Indicator (2): This section of the timeline offers a time/date reference with regards to how the booking components elements are positioned.
Sources (3): This section of the timeline indicates which source is being used for a recording. This can either be expressed as pools or a list with the total available sources.
Timeline Lanes (4): This section displays the individual booking component element along the time axis (as shown by the timeline indicator section, and the sources to which the recordings have been assigned.
When Viewing Booking Components on the Timeline
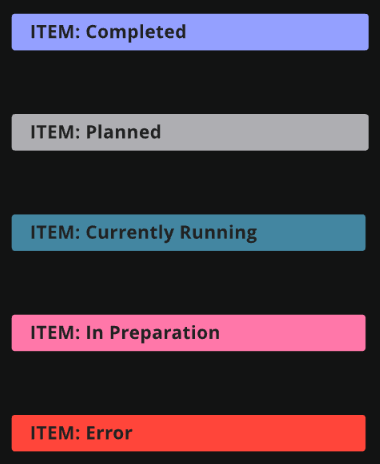
Booking components on the timeline are color-coded and indicative of the recording state.
-
As shown above:
-
Completed
-
Planned
-
Currently Running
-
In Preparation
-
Error
Sections: The Date Selector and Timeline Indicator
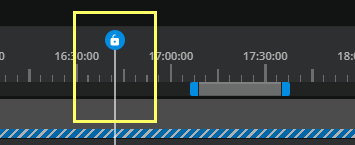
The timeline indicator also displays the current time - which naturally progresses along the timeline as time passes. This is expressed as such:
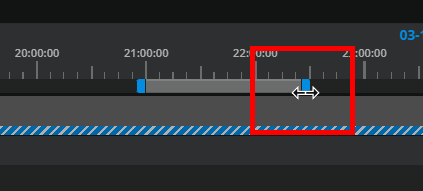
Users can also be used the horizontal scroll bar in the timeline to move back and forth along the timeline. This can be done by simply dragging the bar either direction.

Users can also zoom in and out in terms of the scale represented on the timeline by expanding or reducing the scroll bar. This particularly helpful for honing into multiple recordings sharing similar recording times within a certain span of time.
Section: Sources
The “Sources Section” on the timeline specifies whether the lanes are broken down as individual devices (2) or device pools (1).
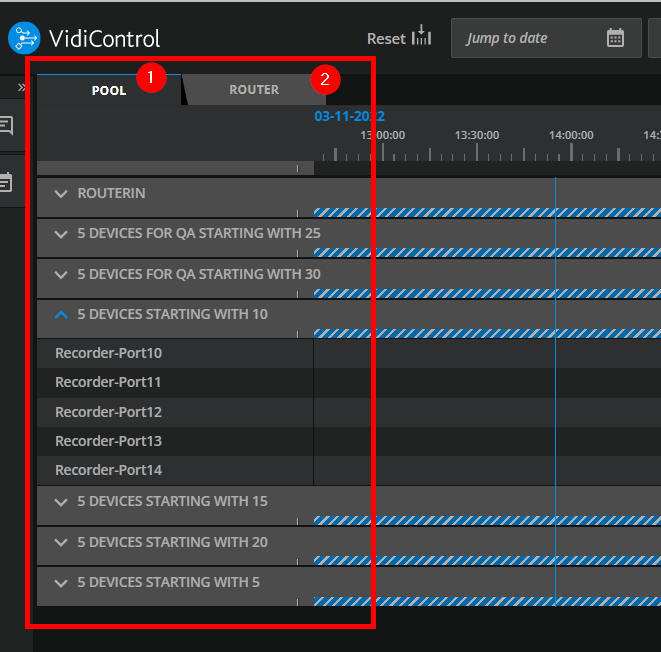
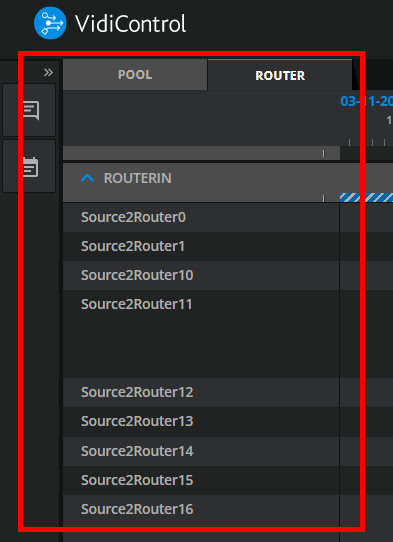
If one has the device pool selected, users are able to expand individual pools to offer which of the devices are being used. Choosing the “Router” option will offer a list the totality of devices.
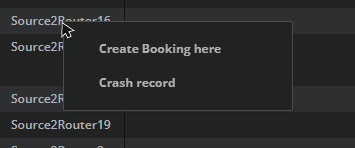
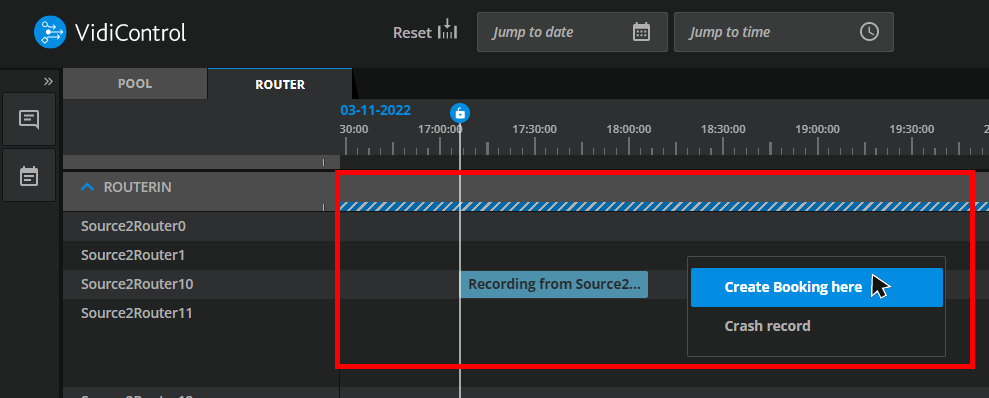
Context Menu: For individual lanes
The lane headers offer a context menu that allows one to schedule new Bookings or to Crash Record on that particular lane.
Context Menu: For source groups
The group headers offer a context menu that allows one to sort the items in the group.

Section: Timeline Lanes
The “Timeline Lanes Section” is the core of the Timeline area. This is where all individual booking components are represented along the source lanes they are assigned to.
Users can immediately interact with the timeline to create bookings, crash recordings and even manipulate the placement of existing booking component elements on the lane.
Identifying Booking Components Related to a Booking
Clicking on a booking component and holding the “Alt” will highlight booking components belong to the same booking. Entering the edit booking area will grant the user an overview list of the individual components.
When Navigating the Timeline
The following keys can be used to improve the users timeline navigation
|
Key |
Effect |
|---|---|
|
Holding the “Alt” key while using the mouse wheel |
This will zoom the timeline in and out. |
|
Holding the “Shift” key while using the mouse wheel |
This will scroll the timeline on its horizontal access. |