
When managing media contained in a Project Bin, users are able to select relevant media and add it to the timeline in order to edit a sequence. There are two different approaches when adding media to the timeline. Users can either evaluate the material in the Source Preview player before adding it to the timeline, or add it directly from the Project Bin into the timeline.
Add to Timeline
Users can immediately add media to the timeline area and insert the clip on the frame on which the timeline's position needle is currently set via the "Add to Timeline" (2) option in the context menu (1). Alternatively, users can drag the media directly into the timeline or just double click on a result item.
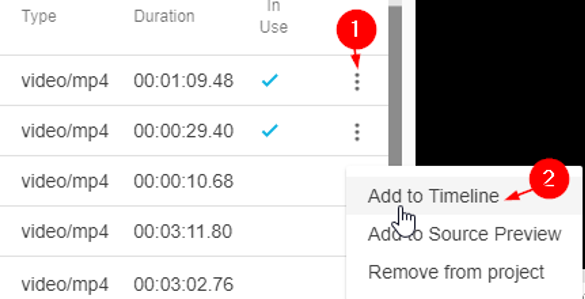
Please note that as soon as a clip is included in the timeline, the project will immediately identify said clip as "In Use". This can be observed by the "Check" icon being displayed in the "In Use" metadata column.
Add to Source Preview
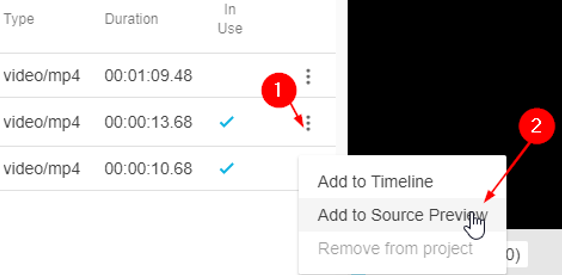
Users can at any time review the Project Bin's video content by adding it to the Source Preview player. This can be done by clicking on the "three dot" icon (1) to open the context menu and selecting the "Add to Source Preview" (2), or alternatively, by using drag and drop from the Project Bin into the Source Preview player. While the Source Preview player displays the entirety of a video's content, users can decide whether to add the entire clip to the timeline, or select a portion of the clip to the timeline.
Users can also drag the media from the bind directly into the Source Preview player. For a detailed description of the Source Preview player and its functions, please refer to the Source Preview section.