Clone a Booking
Cloning a Booking means to create a copy of the Booking, and taking over all data like title, metadata and recording data (depending on how the clone was triggered).
How to create a Clone
There are several ways to create a clone.
Timeline
On the timeline, a clone can be created with two basic methods:
Create with Booking Dialog
This will create a new clone recording based on the original one. The booking dialog is opened to adjust booking details such as start/end times, metadata, etc.
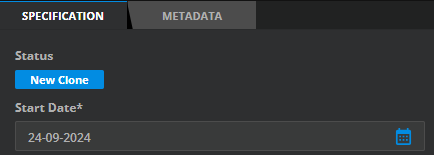
To indicate that the booking dialog is open on an unsaved clone, a clone indicator is shown in the booking dialog:

Indicator in booking dialog to show that a clone is in creation
The following actions can be used to create a new clone recording with the booking dialog:
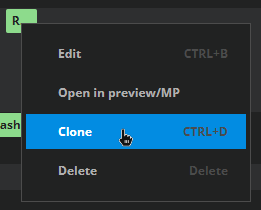
Right click on a timeline item, select context menu entry “Clone”

Selecting an item on the timeline, keyboard shortcut [Ctrl]+[D]
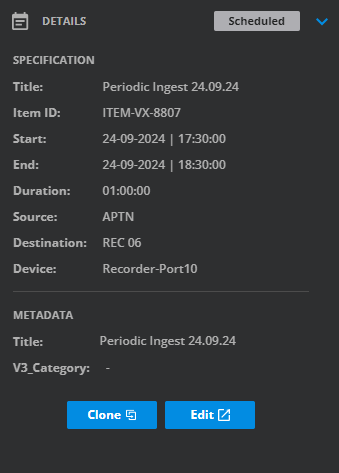
Selecting an item on timeline, clicking on Clone button in Booking Quick Info

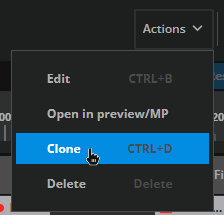
Selecting an item on timeline, the selecting the Clone entry from the actions menu

Create with Drag and Drop
A clone can also be created and placed by drag and drop. To do so:
Select the item on timeline that should be cloned
Hold [Ctrl] key on keyboard
Drag the item with pressed mouse-left to a new position (time and in/out port)
The new Clone is immediately available on the timeline.
Booking Dialog
To create a clone in Booking dialog, select the original item from the list of Booking Components. On the right hand side is a button to perform the clone:

If the clone button is not available, it could be the case that the Booking Component is virtual. In this case, instantiate the Booking Component prior to cloning it.
After clicking on the clone button, the Booking dialog opens the new clones specification and displays the “New Clone” indicator. It is now possible to edit and save the new clone.
Prefix for Clones
By default, new clones have the same title as the original recording.
To identify them, it is possible to configure a prefix for clones. This can be done via the Config Value ClonePrefix.
