Video Effects
While editing a video timeline, some scenarios require one to adjust the graphical elements of the timeline while modifying some of its parameters. The following type of segments can be adjusted using video effects:
Video segments
Still image segments
VidiEditor allows one to modify the following segment attributes by default (available once per segment):
Horizontal Position
Vertical Position
Scaling
Scale while keeping aspect ratio (width and height scale together)
Scale width while keeping the height
Scale height while keeping the width
Rotation
Opacity
Additionally, video effects are available that must be added to a segment before being available (these can be used multiple times per segment):
Blur (WRE only)
Mosaic (WRE only)
The effect functionality must be enabled in the applications configuration as it has impact on the scaling hosting infrastructure. It might be that this feature is disabled in your installation.
Basic Usage of default effects
To use effects just select one graphical segment in the timeline and click on the settings panel of the Media Management area:
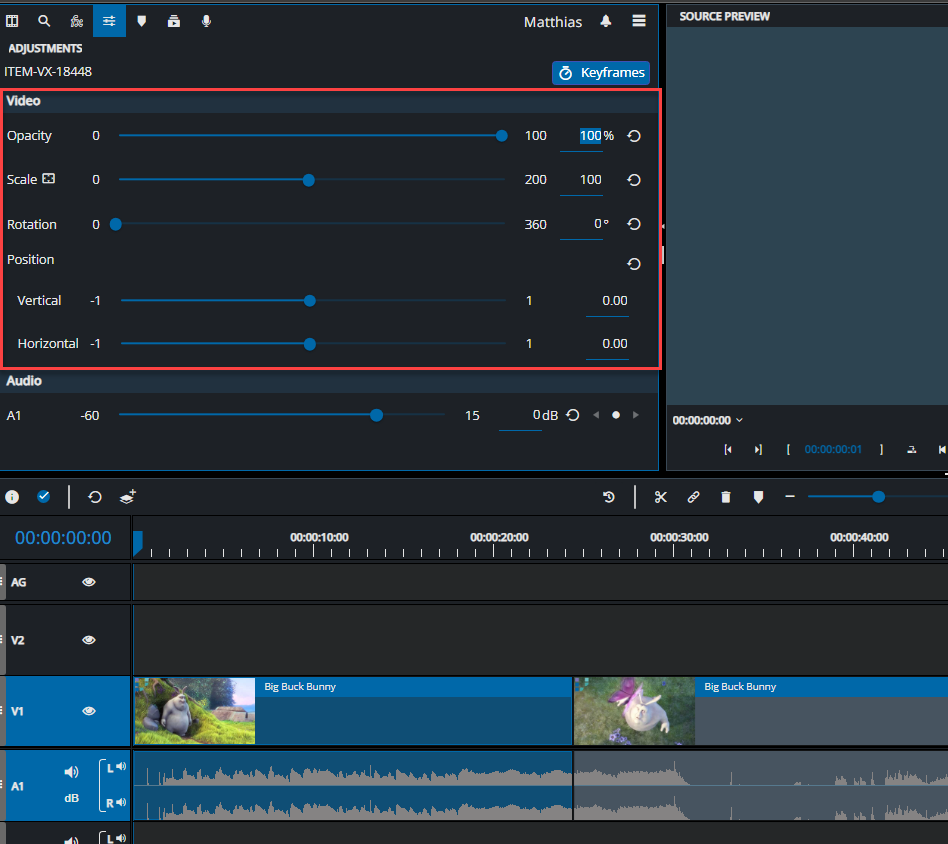
Default Effect on a Video Segment
The supported effects are displayed with their default values. It is not needed to add them to a segment. The default values basically have the meaning of using the elements as they are.
It is easy to adjust the parameter using a slider or while entering a value directly in the input field besides the slider. The result will be displayed in the timeline preview player.

Effect parameter changed to different value
It is also possible to easily reset the effects to their default values while clicking the reset button besides the input field.
Squeeze or Stretch Media
In some situation it might be of advantage to stretch or squeeze a video / image meaning to scale the height without changing the width or the other way around. This can be achieved using the scale effect and toggling it to “independent scale”.
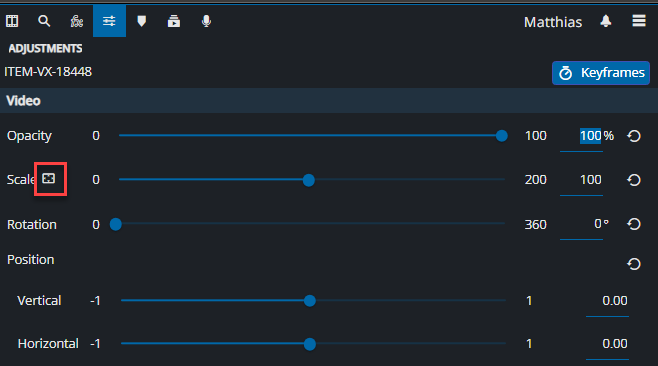
Independent Scale toggle to scale width and height separatley
Clicking the button will extend the view to 2 slider for width and height:
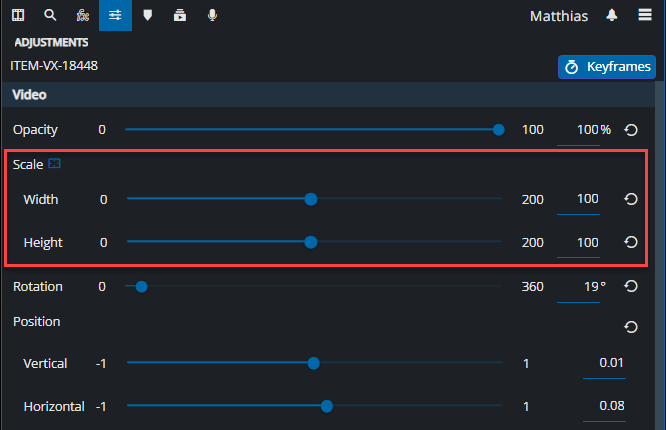
Width and Height can be scaled independently
In result the segment can be squeezed or stretched using those 2 sliders.
Please note, when setting height and width independently, and toggling back, the effect will reset to its old value ignoring the independent height and width values.
Adding Additional effects (WRE only)
To add an effect not available by default, go to the VidiEditor effects pane and find the wanted effect:
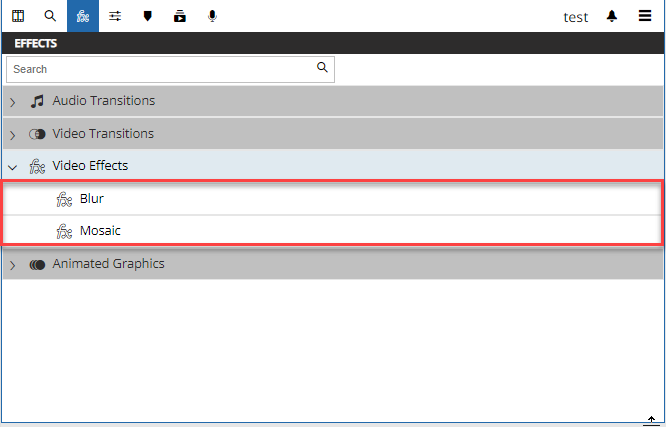
Simply drag it onto a timeline segment to apply the effect. When this is done an effects icon will show upon the segment and the effect parameters will become available in the settings pane for the selected segment.
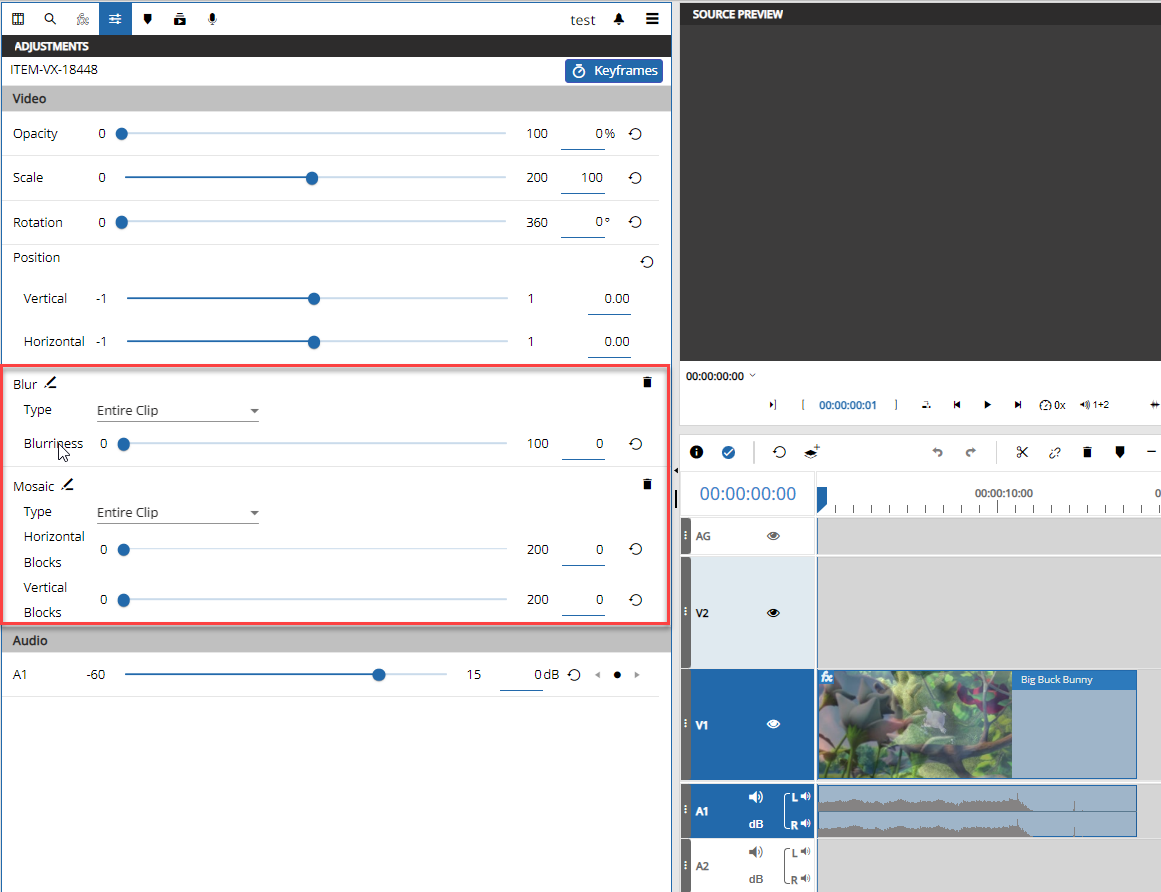
Where following options are available:
Blur
Rename the effect to better organize the work (E.g.: When blurring different persons)
Set the blurriness to define how strong the blur should look like
Select a mask as rectangle or ellipse to blur only a part of the video
Mosaic
Rename the effect to better organize the work (E.g.: When pixelating different persons)
Set the amount of blocks horizontally and vertically for the visual effect
Select a mask as rectangle or ellipse to blur only a part of the video
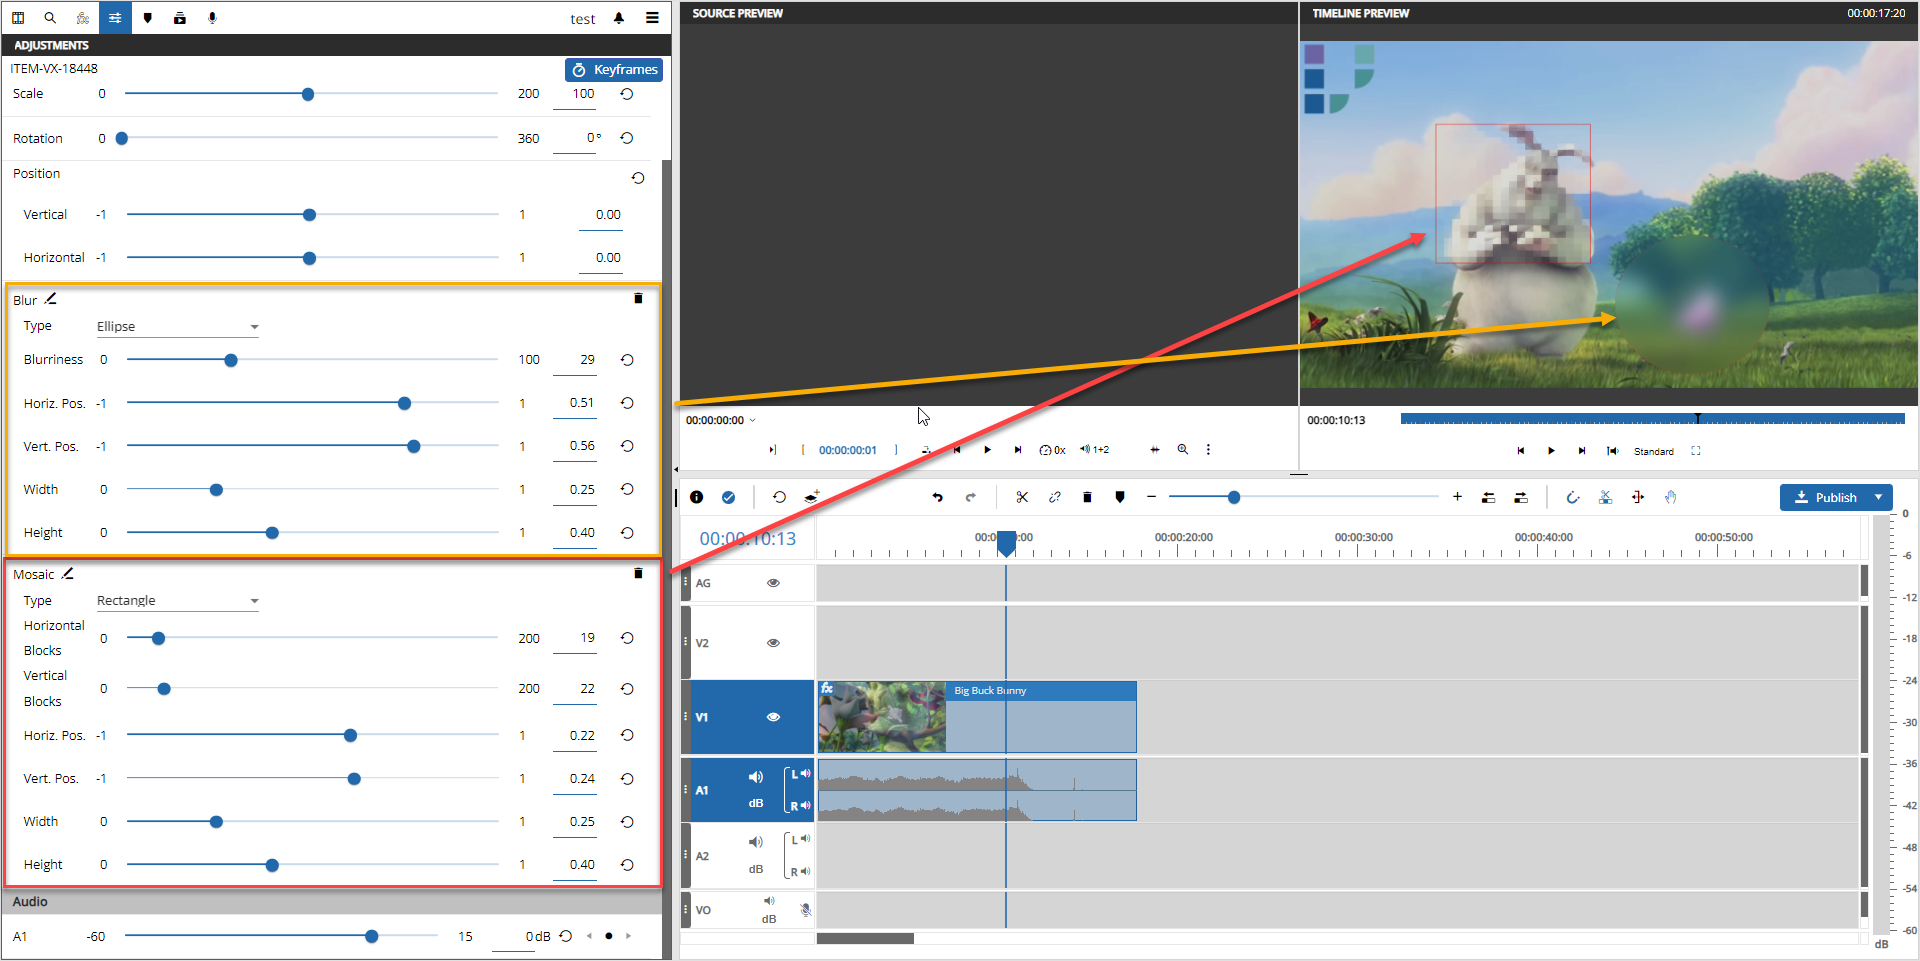
For Blur as well as for Mosaic, the user can define a mask while selecting it in the settings panes dropdown. The mask will be displayed in the timeline player with a red line that will be ignored on publish. It is only present to help the user better seeing the position.
Following parameters exists for the mask to define where it appears
Horizontal Position
Vertical Position
Width
Height
An example using blur and mosaic on a video looks as follows:
Keyframing video effects (WRE only)
When Web Render Engine is used, all above mentioned video effects and parameters can be adjusted with keyframes also to change the effect over time. Please see Keyframe based Editing View (WRE only) [VE UG] for a detailed explanation on how to use keyframes.
