
The player offers a variety of functions to control the playback and the creation of new events. In the following articles all the player controls are described in detail.
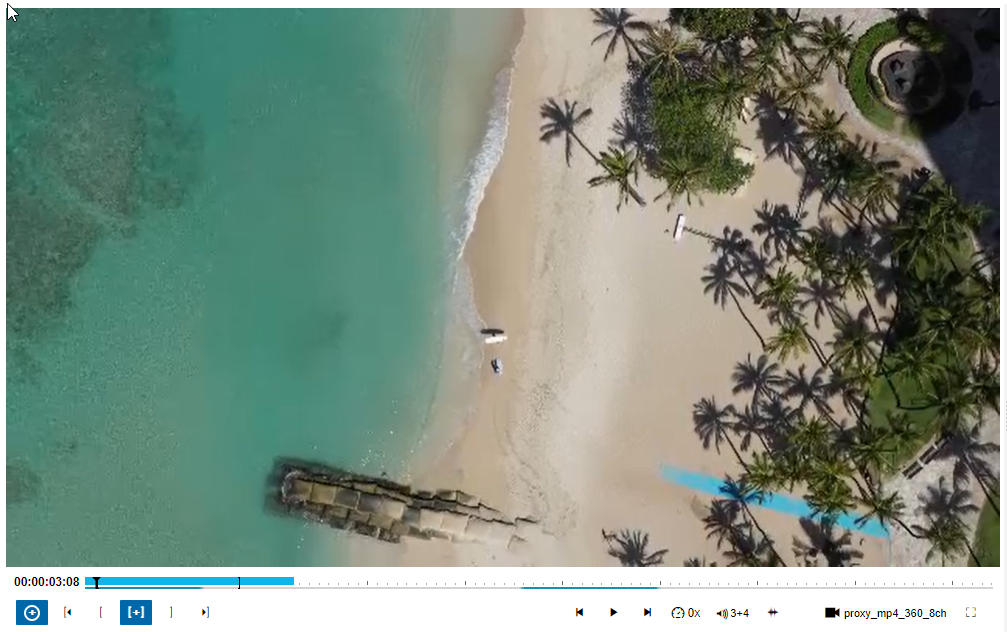
The player is designed responsive, thus whenever the available display space does not allow to show all the player controls, you can access them from the “Show More” menu.
Create events and adjust IN/OUT points
To create a new event, navigate to the right position in the video or audio file by positioning the playhead and press the [+] - Button (alternatively hotkey “A”). MediaLogger will automatically create a new event at the playhead’s current position. The OUT point is automatically set to a default value but can be changed like this:
-
Select the event where you want to change the OUT and go to edit mode e.g. by selecting the pencil icon or double click on the OUT-value.
-
Move the timecode position to the TC that should be the new out point.
-
Press the OUT point control. This will update the TC for the OUT for the selected event.
-
Alternatively drag & drop the out marker in the player timeline to the right position
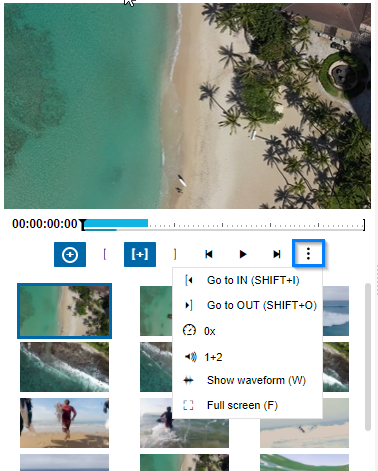
The buttons next to the IN/OUT point provide a fast way to position the playhead directly at the IN or OUT point.
|
|
Add Event at Playhead Position (ignores IN/OUT markers) |
|
|
Go to IN |
|
|
Set or Update IN |
|
|
Create Event with IN/OUT marker |
|
|
Set or Update OUT |
|
|
Go to OUT |
|
|
Move Playhead one frame backward / forward |
|
|
Play / Pause |
|
|
Speed selection |
|
|
Audio channel selection |
|
|
Show waveform |
|
|
Peak meter (only shown if the selected audio channels have audio) |
|
|
Switch player to fullscreen |
|
|
Subtitle selection (only shown if at least one subtitle exists) |
|
|
Select format (only shown if more than one available proxy format is available) |
TC Navigation
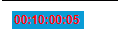
If users want to accurately specify the insertion of an IO point to a particular frame, they can determine the position of the playhead via time-based navigation. To navigate to a specific TC, one has to double click on the timecode display. Once the desired TC has been put in, pressing enter will move the playhead to the desired position.


In case an incorrect timecode (e.g. that does not exist in the asset) is entered, the timecode is shown in red and pressing enter will reset the timecode to the old timecode
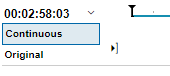
Switch to Original Timecode
For videos from camera cards, Vidispine also stores the original timecode of the camera card child elements. In that way the original timecode is preserved and users can switch between showing the standard continuous or the original timecode when they play back the video. The player component shows a dropdown option in case there is an original timecode available.
Play, Pause and Skip
Apart from the typical player functions, such as play and pause, users are able to skip on a frame by frame basis. This is particularly helpful when accurately specifying the insertion of IN / OUT points. Naturally, frame skipping and the change in TC is indicated on the timecode area next to the timeline.

Playback Speed Factor
When using the player to view content, users can choose to increase or decrease the speed factor by selecting the factor option in the player's menu.
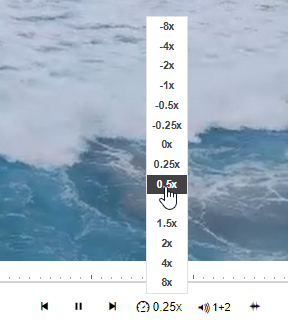
Please note that playback speed factor affects the amount of frames skipped when using the skip option in the player menu.
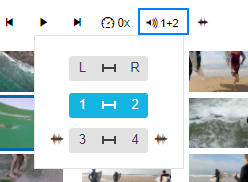
Audio Channel Selection
Users can select which audio channels should be played back in the player. Next to the speaker symbol the audio tracks are shown that are currently selected and besides that the so called peak meter shows the audio level of the selected tracks.

By clicking on the speaker symbol, the audio selection dialog pops up. Here one can see the available audio channels of the audio or video asset including a waveform-symbol. If this symbol is shown next to the channel number, the channel has audio signal and if it is not shown the channel is silent.
To select a pair of channels, just click on the symbol between the channel numbers.
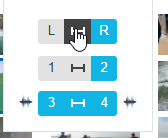
Select individual or multiple audio channels
In the default setup of the MediaLogger users can select pairs of audio that they want to listen to from the audio channel selection. Depending on the system configuration, it is possible to not only select pairs, but also individual or multiple audio channels that should be played back. As this setting leads to higher hardware consumption it is normally deactivated and can only be activated as a system setting from the administrator or project engineer.
To select multiple audio channels, just click on all the channels that you want to listen to and deselect channels by another click. To select all channels at ones, one can click on the channel symbol on the top between left and right.
Show audio waveforms
If you want to see the waveforms of the video, just activate the “Show waveform” button below the video. Thereupon the player shows the audio waveforms as overlay on top of the video. The player will always show the waveforms of the currently selected audio channels - so the channels you hear are the channels you see.

Please note: this feature is only available with a Vidicore backend.
Full Screen Mode
Whenever viewing material on either of the players, Source Preview and Timeline Preview players, users are able to switch to a full screen mode.

When using the full screen mode, hovering over the bottom edge of the screen will prompt the player's menu options. Clicking on the "X" button will revert the player to its normal mode and return to the standard MediaLogger UI.

Subtitle Preview
If video or audio files have subtitles, users can choose to show them as overlay in the player. If there are subtitles available one notice from the subtitle selection control. If there are no subtitles available the subtitle control is not shown.
If there are subtitles available, the subtitle control is available and from this dropdown you select the subtitle that should be shown. If there is only one subtitle available, it is selected per default. Of course the subtitle preview can be switched off from this dropdown as well.
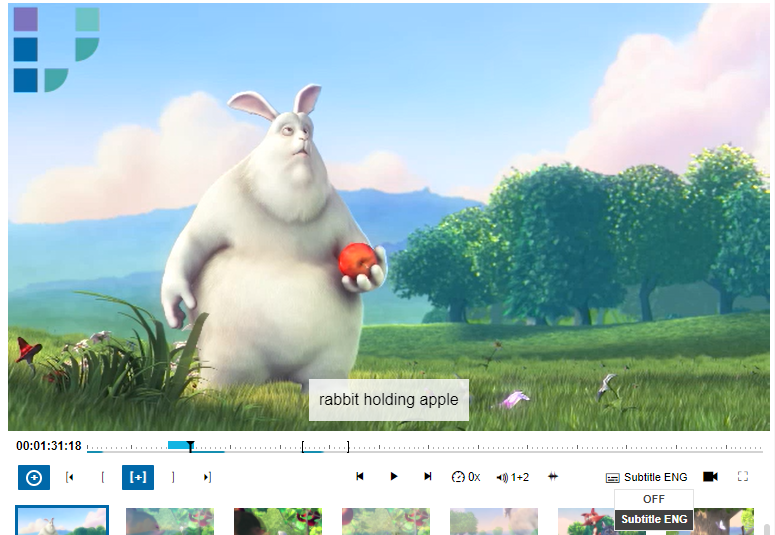
In case there are multiple languages / different subtitle files, the subtitle can be changed from the dropdown menu that shows the names of the existing subtitles. In the screenshot above it is called “Subtitle” only. More likely you will see names like “Subtitle English” and a “Subtitle French”.
Subtitle preview only serves for editorial reasons to check the text. Currently the subtitle preview in the player does not regard any formatting if there is any stored in the orginal subtitle file.