
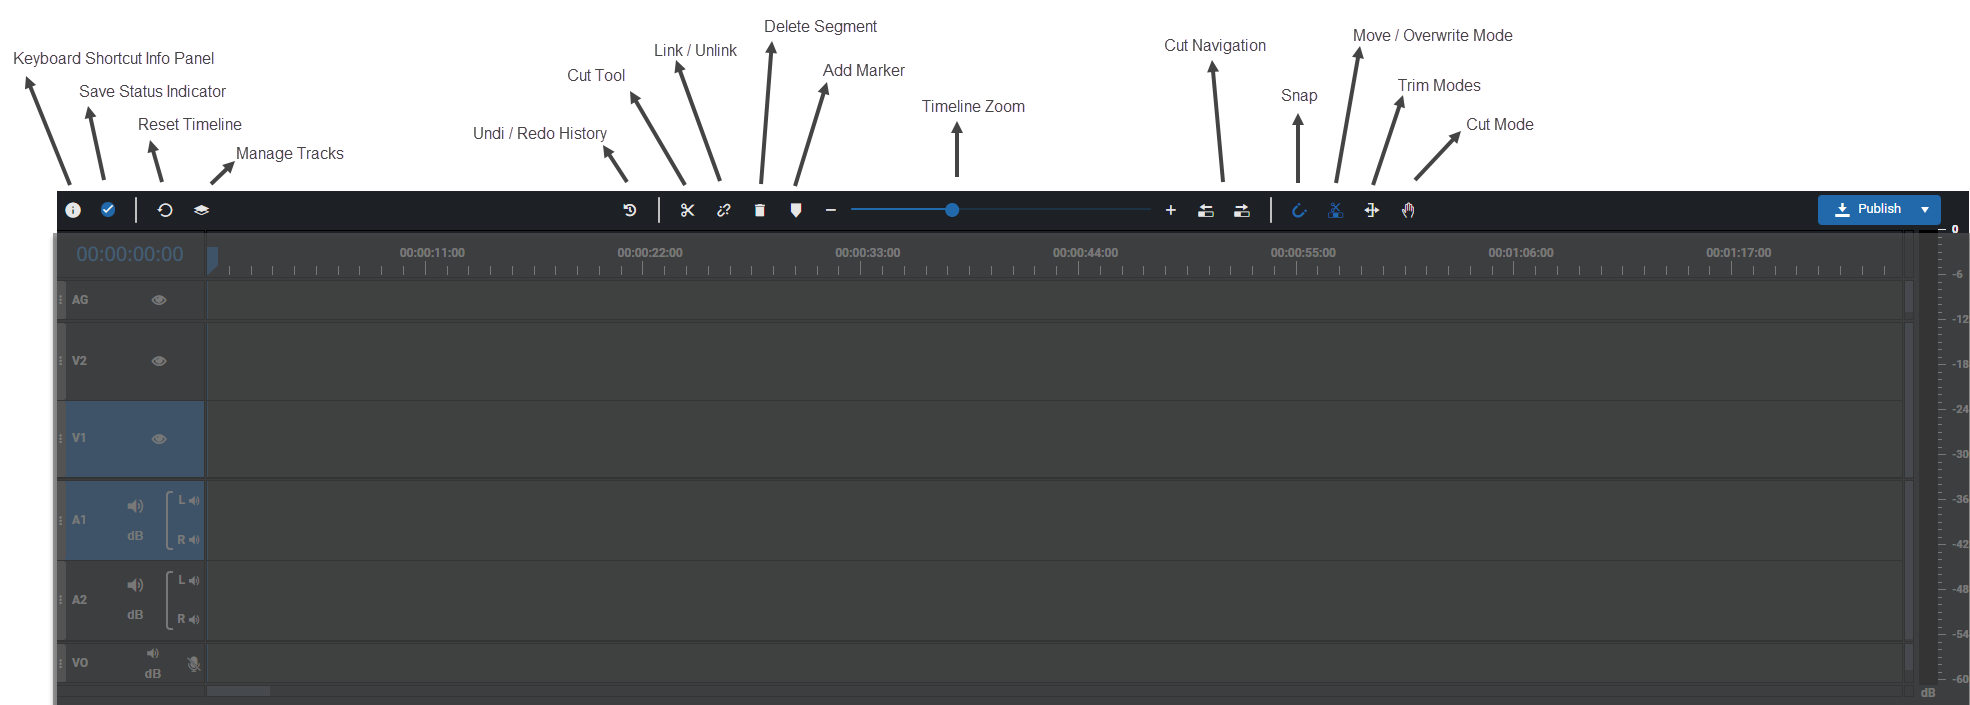
When working on the timeline area, users will notice the timeline toolbar. It contains a series of options and functions to facilitate the editing process when assembling a sequence. All options will be explained briefly below but most of them having a more detailed explanation in the various chapters of this documentation.
Keyboard Shortcut Info
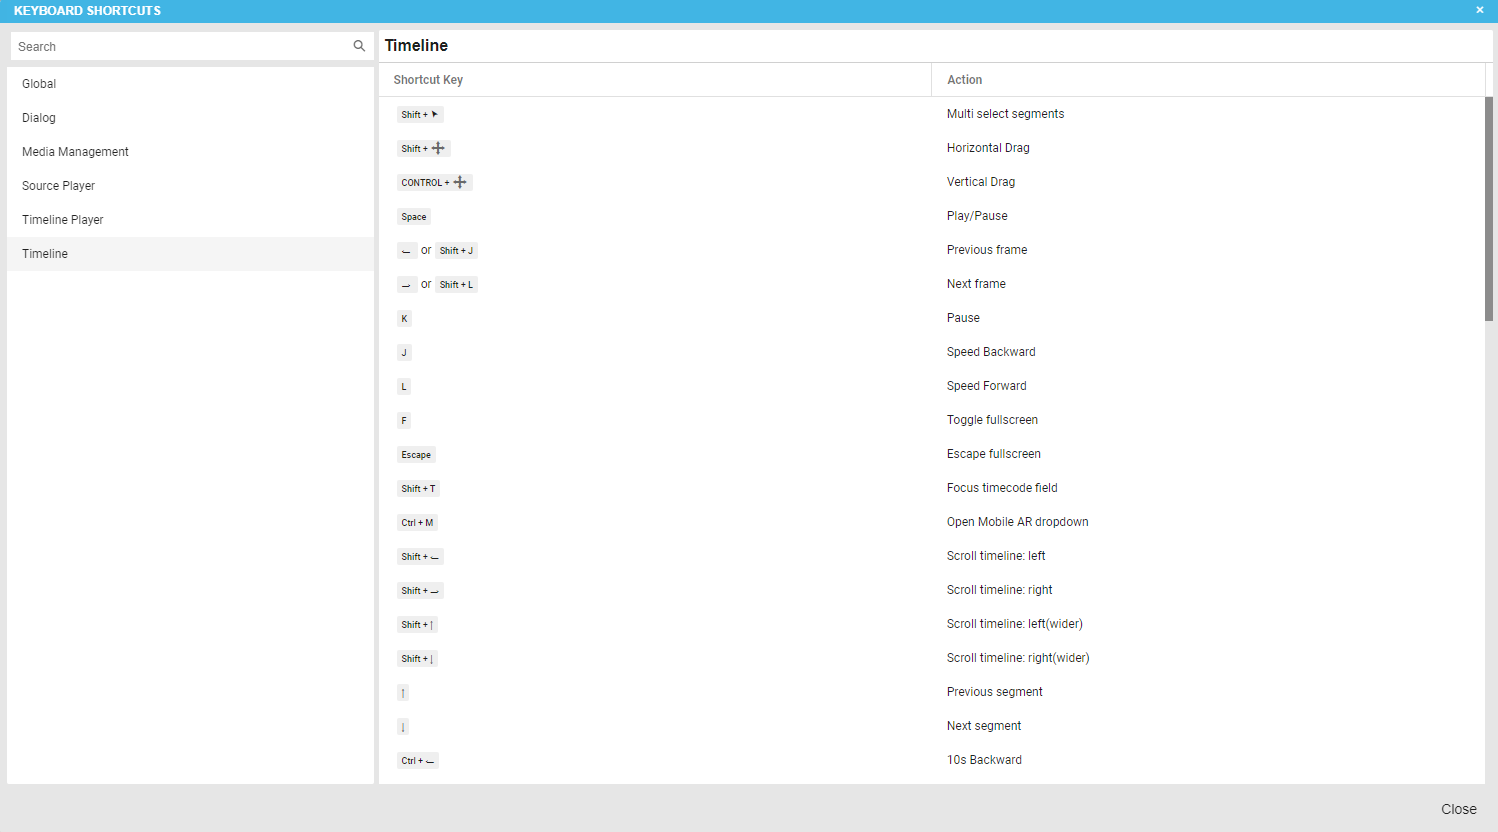
Opens an info dialogue listing all the keyboard shortcuts available in VidiEditor. See also Keyboard Shortcuts. The dialogue structures the shortcuts for the different focus areas valid and allows a basic search through the mentioned action descriptions.
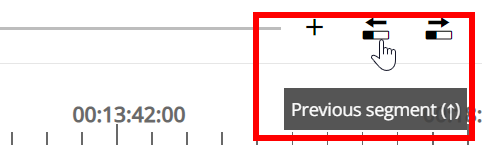
Furthermore many VidiEditor options having their keyboard shortcuts display this in the tooltip when hovering the button.
Save Status Indicator
This icon indicates to the user if the timeline was saved successful or not (see Timeline Saving). It can be also used as button to save the timeline manually.
Reset Timeline
This option can be used to delete all work done on the timeline to reset it to the initial state. In result the user gets an empty timeline.
Add / Delete Tracks
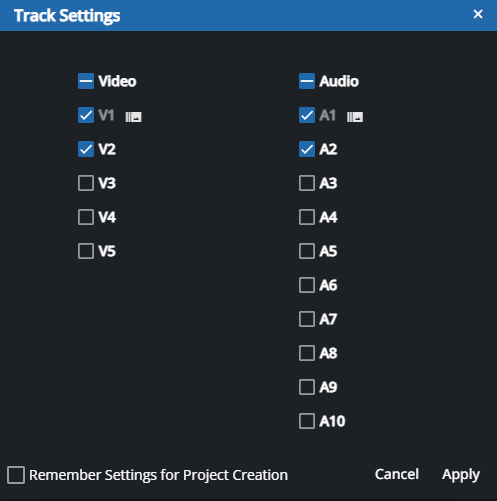
By default, VidiEditor projects are created with 2 video and 2 audio tracks. The “Manage Tracks” button allows a user to add up to 5 video and up to 10 audio tracks individually. The user just needs to select the wanted tracks in the modal using the check boxes for add or delete. Changes will be applied after clicking the Apply button.
The “Remember” option allows the user to persist the selection of Tracks activated under the logged in users account. On next project creation the saved setting will be used automatically in case the user checked the “Remember” checkbox.
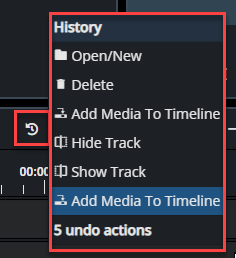
Undo / Redo History
The undo / redo history button is opening a pop out allowing the user to navigate through last action done in timeline and doing undo / redo in single steps or as a batch while clicking on the state wanted. See also Undo / Redo
Cut Tool
The Cut Tool: Performs a segment cut wherever the playhead is positioned in the timeline. The cut affects all segments of the selected track including its linked segments. Segments on not selected tracks will not be cut clicking the button. See also Cutting a Segment .
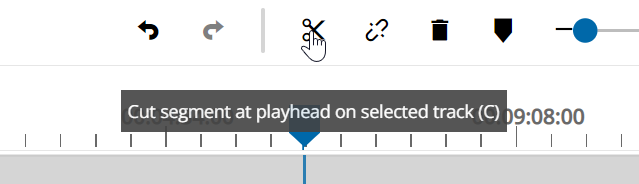
Please note: If all segments of all tracks should be cut the keyboard shortcut ctrl + k can be used.
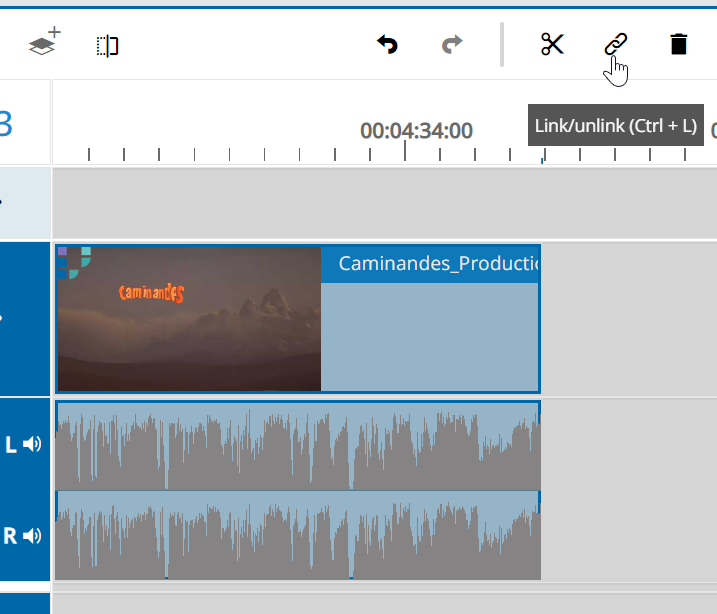
Link / Unlink
This options allows to unlink the video and audio segment of media from type video enabling the use to make compositions with overlapping audio / video areas. It can be only used for one selected segment to unlink and relink back the originally related audio and video elements. See also: Link - Unlink
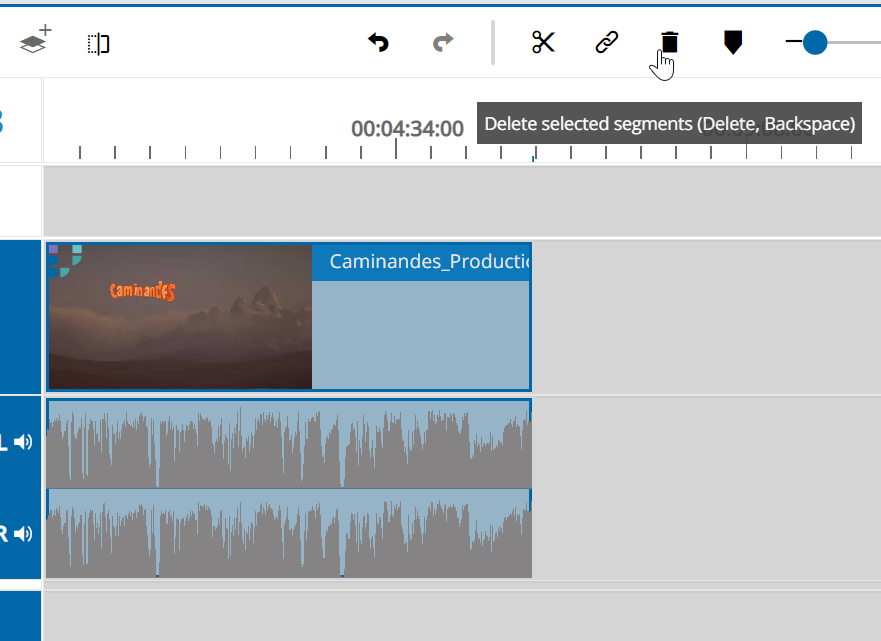
Delete Segment
Delete Selected: This removes the selected segments in the timeline. Please refer to the Delete and Ripple Delete section for more details.
Marker
This option allows to create timeline markers suitable for various scenarios such as annotating the timeline doing partial publishes or to generate timecode based metadata. Please see Timeline Markers for further information.
Zoom Timeline
Zoom: By dragging the scale horizontally, users are able to zoom in or out of the timeline. As a result, the visually represented space between time intervals is either increased or decreased with the zoom.
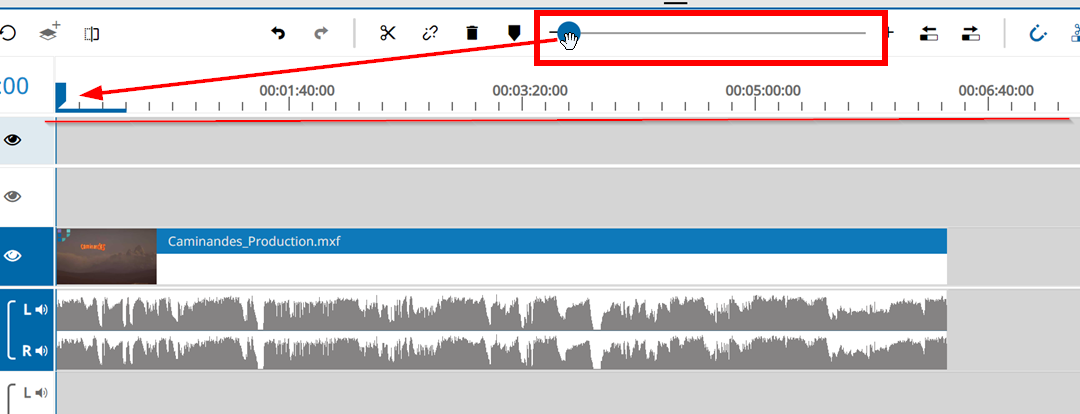
It is important for users to note that users are able to scroll along the timeline (1).
Cut Navigation
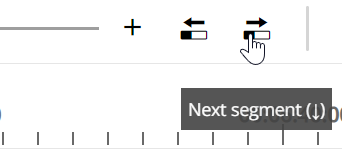
The timeline navigation buttons allow the user to navigate to previous and next Segment. Selecting either option will position the timelines playhead to the beginning of the previous or next segment in the timeline.
Snap
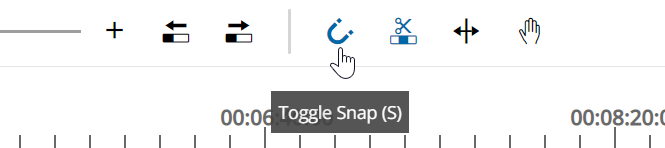
Snap: Selecting this option will activate the magnetic snap behavior when bringing timeline segments in close proximity to each other. This is used to automatically and accurately remove the gap between two segments frame accurate. See also Snap.
Move / Overwrite Mode
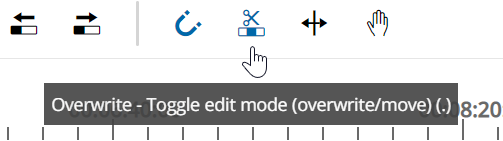
This toggle switches between the 2 modes: move and overwrite. This is related to segments added to and moved into/in the timeline. When using the move mode, one segment would not overwrite another segment on the same track. In result it automatically cuts and moves existing segments when moving a new segment on the same position. The overwrite mode will overwrite an existing segment when moving a new segment on the same position. Please check out Move / Overwrite Mode for a detailed explanation and Insert Edit Using Keyboard Shortcuts for a practical example on move / overwrite editing from the source preview player.
Trim Mode
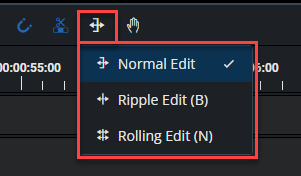
This selection switches the trim mode between normal trim, ripple edit mode and rolling edit and wit this affecting the behaviour while triming segments. The user can simply select the wanted mode in a pop out dialogue. Please read Ripple Edit and Ripple Delete and Rolling Edit [VE UG] for a detailed explanation about the behaviour of the different modes possible.
Cut Mode
The cut mode allows to activate a specific cut option on the timeline so the user can hover over segments using the mouse and cut directly in the timeline using the mouse cursor. See Cut Mode section for addition information.
Publish
To finalize a project and distribute it to a new video file, the transcoding of new media file can be started using the publish option. This will open a dialogue offering different options depending on the VidiEditor version and configuration used. Possibilities are to trigger a Vidispine conform job, a VidiFlow workflow, set a target format or storage, and to fill out metadata for the new item. A more detailed description of the options is provided in . Please see Publish for detailed informations.